Well after much deliberation, it had come to the point where the fun one found every time a passenger was freaked out by the fact the buddy seat had a tendencies to move on it own and subsequently make them leave the odd brown patch in there pants & knickers, must be politically correct in this modern age, don't want to be called sexist you know i have nothing but admiration for a good women, not that their are many left now oops ! fuck quick move on no one will notice, back to the seat, well the seat was actually in bad need of repair so i thought while i had not a lot else to do! yeah and we know that's not true as i am a married man you know, hence i actually found time to do this, the seat had some rotten timber in it from years ago, that needed to be sorted out the ply was actually coming apart and the seat was falling apart, so i got some tools out that don't see the light of day very often as these are primarily made for wood, yeah Wood Scary stuff when you cant weld it it takes on a whole new form, any way pictures below to show the seat in its before during & after.
 |
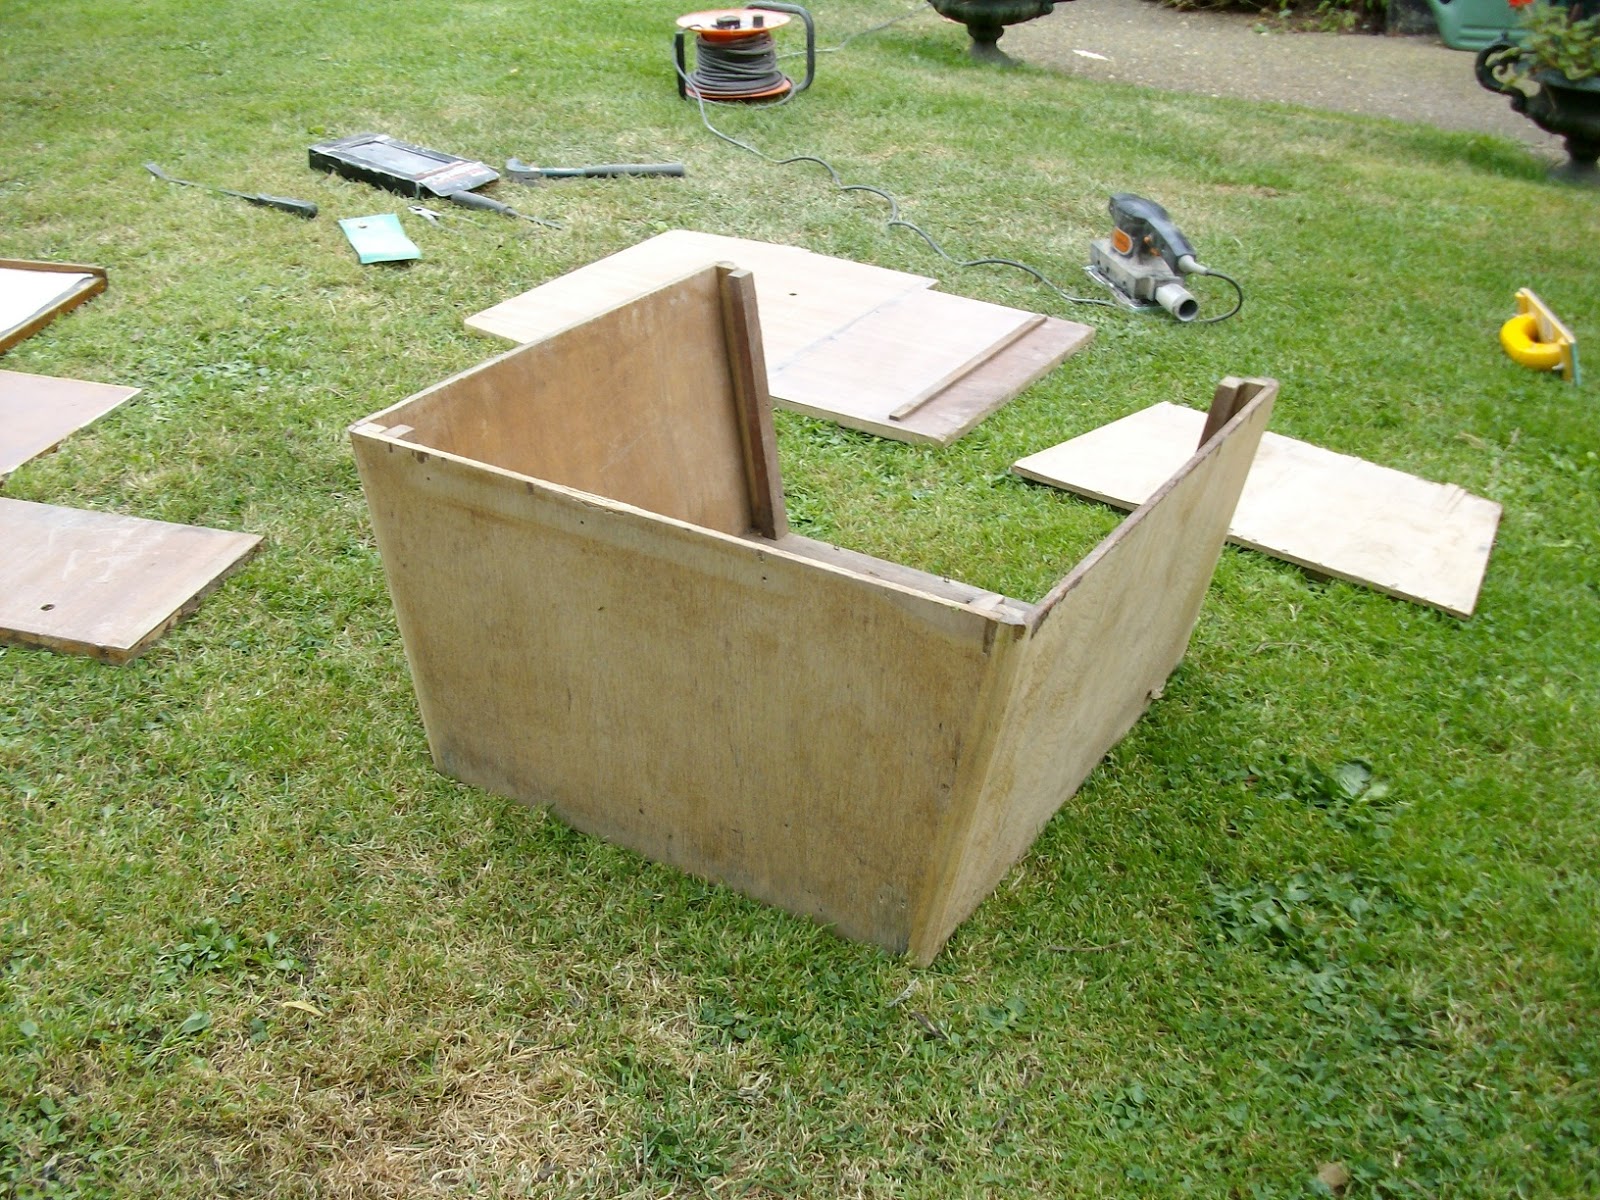
| Seat in its original Condition, was actually worse than it looked. |
 |
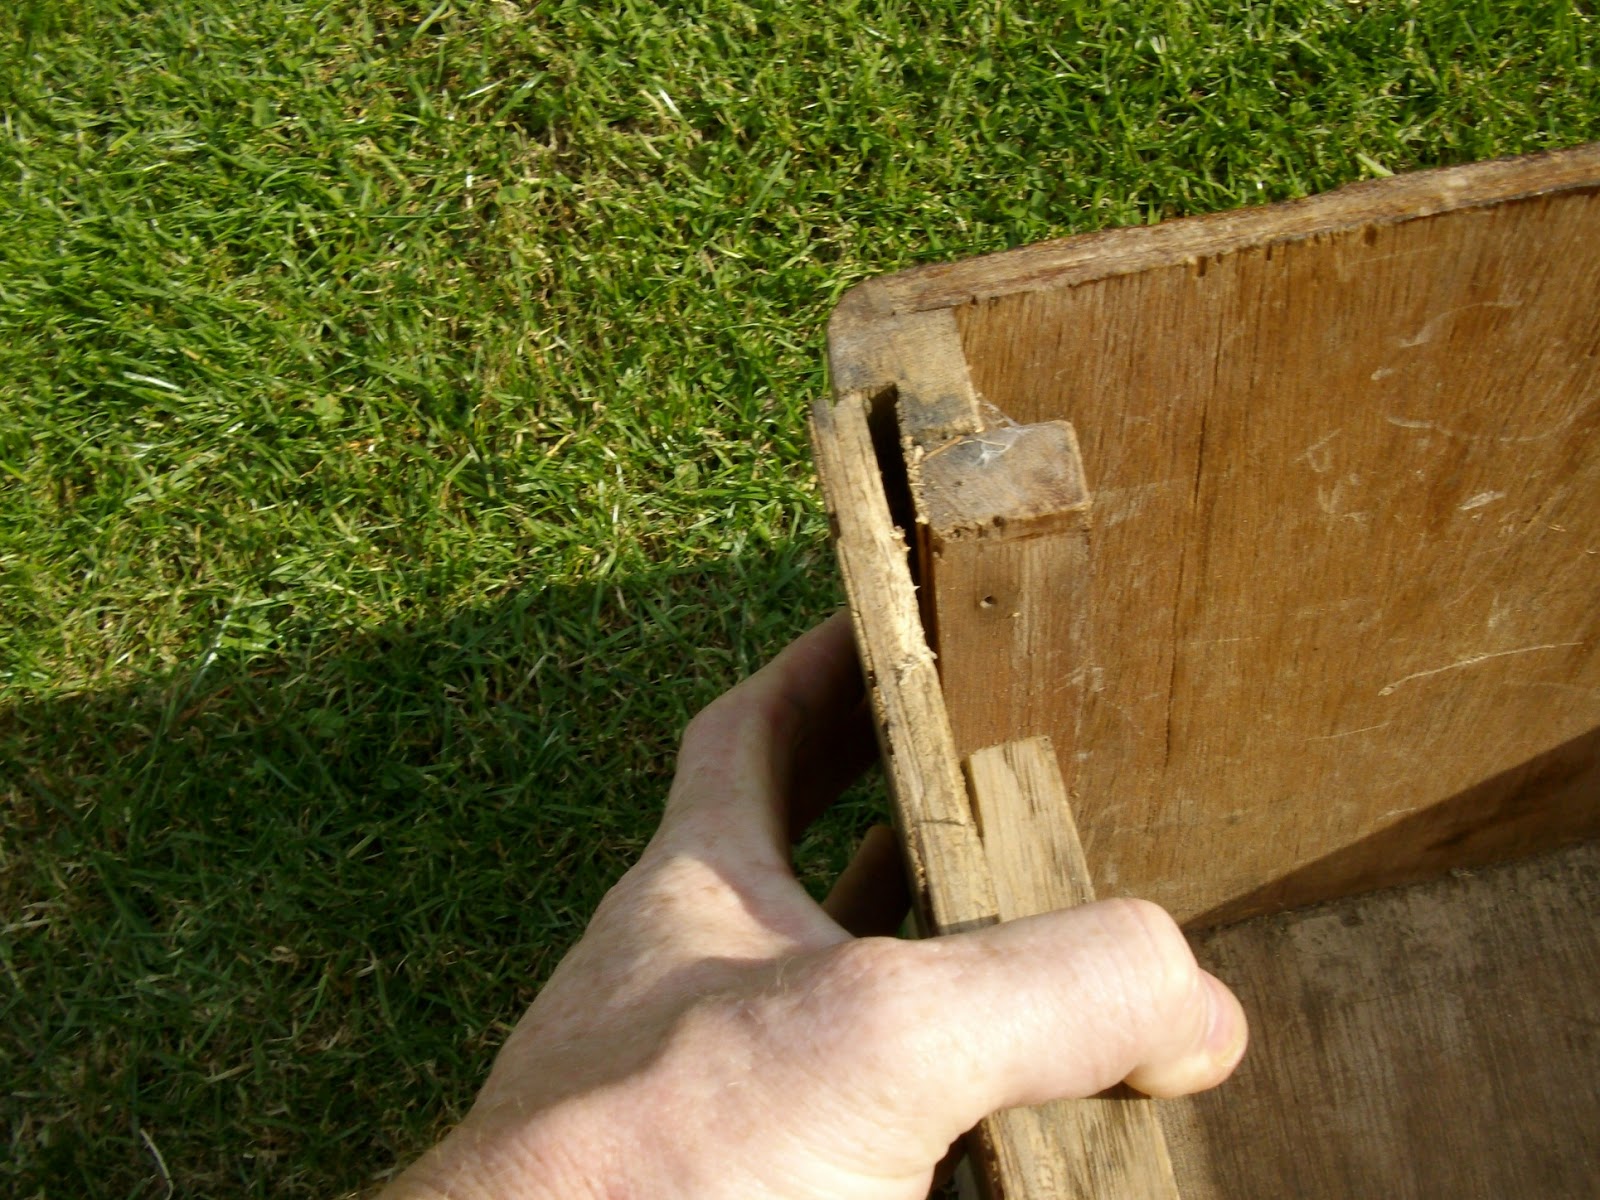
| As this picture shows the ply is coming apart on the arms, thats not the only Place. |
 |
| The ply as seen here is coming apart you can see the Daylight. |
 |
| Most of the glued joints were coming apart. |
 |
The actual corner sections are oak, so this can be glued and reused or should o say renovated.
|
 |
All the bad bits removed and the remaing useable sections sanded down back to the
light Oak under neath all that crappy varnish. |
 |
| New side section Cut and prepped, as you can see the support for theseat base and the removable section for access has been reused and screwed and glued on. |
 |
Seat base ready to have the new panel Fitted, this will be glued and left to dry for twentyfour Hrs,
to ensure the PVA Glue is set. |
 |
| New panel in Place Now to dry Overnight, Dont go mad with the glue when you wipe it off if you shoose to stain or use anoli the discolouration will show. |
 |
| Just to show the fit from the inside. |
 |
| The new arm rest pieces cut and prepped ready to fit. |
 |
| Back section aseembled, Glue dried just needs to add the arms. |
 |
| The arms are the original light Oak ones, these i cleaned up and re-used them the access panel in this picture has new vinyl covering. |
 |
| Vinyl added to the lift out rear section looks pretty good. |
 |
This is not the best picture i admit this is the aluminium stripp
used to dress the frontal edge of the arm rests. |
 |
Finished, I don't actually use any varnish or stain as the original wood is light oak ply ans after a few months mellows down to a beautiful colour.
Well i have to admit not the most interesting post but i haven't done one for months and it looks bad, The next Job i intend to undertake is the home grown Turbo i have collated all the parts just need to start the Creation of the exhaust, but i don't want to take the van off the road until I've been to this months Outcast Meeting at the charter in Aylesbury.
Thanks for Watching.
|


No comments:
Post a Comment